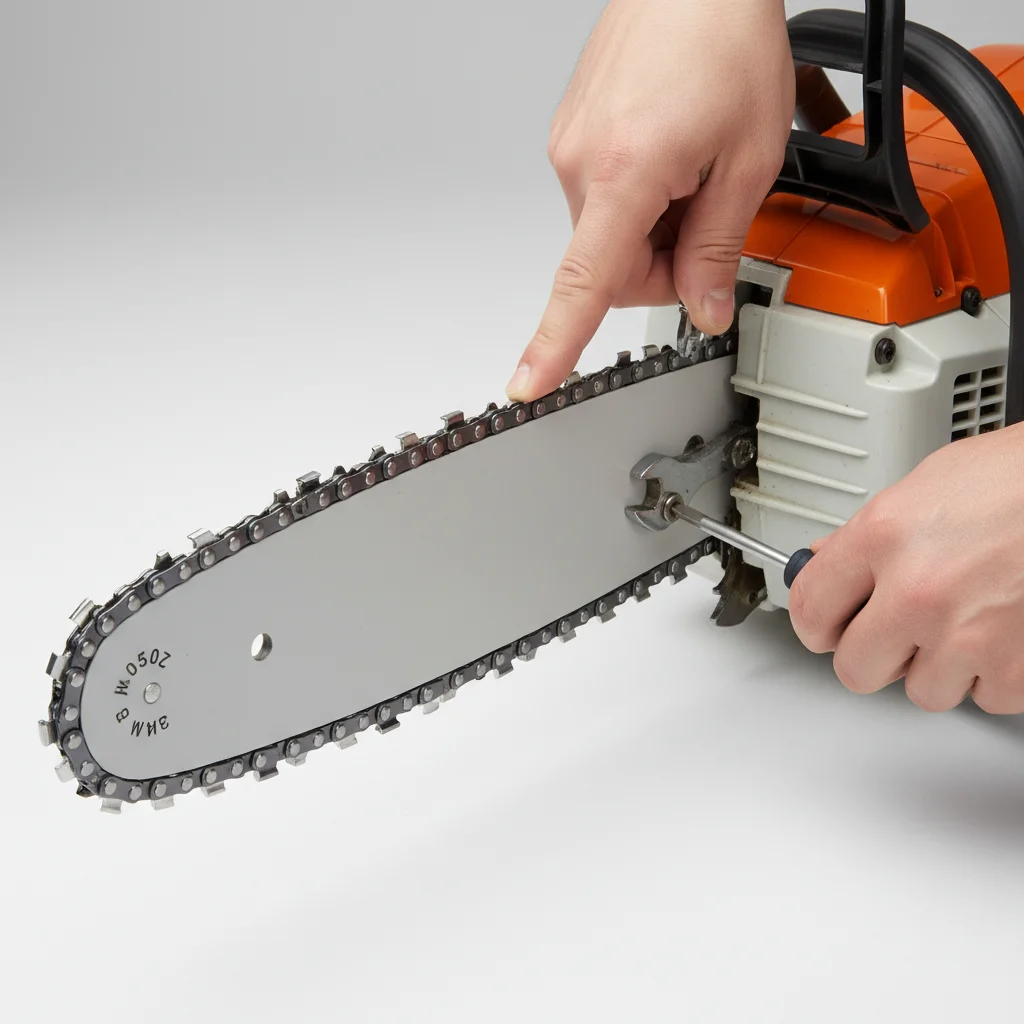
Proper chainsaw chain tension is crucial for both safety and efficient cutting. An incorrectly tensioned chain can lead to dangerous kickbacks, premature wear on the bar and chain, and poor cutting performance. Adjusting your chainsaw chain tension is a straightforward process that involves checking the sag, loosening the bar nuts, and turning the tensioning screw until the chain is snug but still able to be pulled freely by hand.
Why Correct Chain Tension Matters
The tension of your chainsaw chain directly impacts its operation. A chain that is too loose can derail from the guide bar, causing damage to the saw and potentially injuring the operator. It can also lead to excessive vibration and inefficient cutting. Conversely, a chain that is too tight will put undue stress on the engine, guide bar, and chain itself, leading to overheating, accelerated wear, and reduced power. Finding the right balance ensures smooth operation and extends the life of your equipment.
Tools You’ll Need for Adjustment
Before you begin, gather the necessary tools. Most chainsaws come with a universal wrench that fits both the bar nuts and the tensioning screw. You might also need a pair of work gloves for safety. Always ensure your chainsaw is turned off and the spark plug cap is disconnected (for gas models) or the battery is removed (for electric models) before performing any maintenance.
- Chainsaw wrench (often included with the saw)
- Work gloves
- Clean rag (optional, for wiping debris)
Step-by-Step Guide to Adjusting Chainsaw Chain Tension
The process for adjusting chain tension is similar across most chainsaw brands and models. First, ensure the chainsaw is on a flat, stable surface. Loosen the two bar nuts that secure the guide bar to the chainsaw body. Do not remove them completely, just loosen them enough so the bar can move freely. Next, locate the tensioning screw, which is typically found on the side of the chainsaw near the guide bar, or sometimes at the front. Turn the tensioning screw clockwise to tighten the chain or counter-clockwise to loosen it. As you turn, lift the tip of the guide bar slightly to help the chain settle into place. The correct tension is achieved when the chain is snug against the guide bar, but you can still pull it around the bar by hand without excessive force. There should be no significant sag on the underside of the bar, but the drive links should not be pinched.
Checking for Proper Tension
|
Our Picks for the Best Chain Saw in 2026
As an Amazon Associate I earn from qualifying purchases.
|
||
| Num | Product | Action |
|---|---|---|
| 1 | Greenworks 24V 10" Cordless Compact Chainsaw (Great For Storm Clean-Up, Pruning, and Firewood), 2.0Ah Battery and Charger Included |

|
| 2 | Husqvarna 450 Rancher 20 Inch Gas Chainsaw, 50.2-cc 3.2-HP, 2-Cycle X-Torq Engine, For Tree Pruning, Yard Cleanups and Firewood Cutting, 970613120 |
|
| 3 | STIHL Battery Operated Chainsaw with Sound Kids Toy |
|
| 4 | Makita-UC4051A Chain Saw, Electric, 16 in. Bar - Sliver |
|
| 5 | Greenworks 24V 12" Brushless Cordless Compact Chainsaw (Great For Storm Clean-Up, Pruning, and Firewood / 125+ Compatible Tools), Tool Only |
|
| 6 | Greenworks 80V 16" Brushless Cordless Chainsaw (Great For Tree Felling, Limbing, Pruning, and Firewood / 75+ Compatible Tools), Tool Only |
|
| 7 | Makita XCU03PT1 18V X2 (36V) LXT Lithium-Ion Brushless Cordless 14" Chain Saw Kit with, 4 Batteries (5.0Ah) |
|
| 8 | Gas Chainsaw 62CC 20 Inch Professional Powerful 2-Stroke Engine for Tree Cutting, Logging and Firewood with Chain Brake |
|
| 9 | Oregon 3-Pack Chainsaw Chain 3/8" LP Pitch, .050" (1.3 mm) Gauge for 18" (45cm) Bar, 62 Drive Links – Low-kickback Replacement Saw Chain, Fits Husqvarna, Echo, Poulan, Homelite, Craftsman and more |
|
| 10 | Stihl GTA 26 Wood Cutter with AS 2 Battery and Charger AL 1, Battery Operated |
|
After making your adjustments, double-check the tension. A good rule of thumb is that the chain should be tight enough that the drive links are fully seated in the guide bar groove, but loose enough that you can pull the chain around the bar with a gloved hand. You should not be able to pull the drive links completely out of the bar groove. Once you are satisfied with the tension, retighten the bar nuts securely. It’s a good practice to recheck the tension after the first few cuts, as new chains can stretch slightly during initial use.
For those looking for a reliable chainsaw that makes maintenance easier, consider models with tool-less chain tensioning systems. These often feature a dial or lever that allows for quick adjustments without the need for a wrench.These systems are particularly convenient for frequent users or those who prefer a quicker setup. Always refer to your chainsaw’s owner’s manual for specific instructions and recommendations for your model.
When to Replace Your Chainsaw Chain
Even with proper tensioning, chainsaw chains wear out over time. If you find that your chain is constantly stretching, becoming dull quickly, or showing signs of damage like cracks or missing teeth, it might be time for a replacement. A new chain will not only improve cutting performance but also enhance safety.Investing in a quality replacement chain can significantly extend the life and efficiency of your chainsaw.
