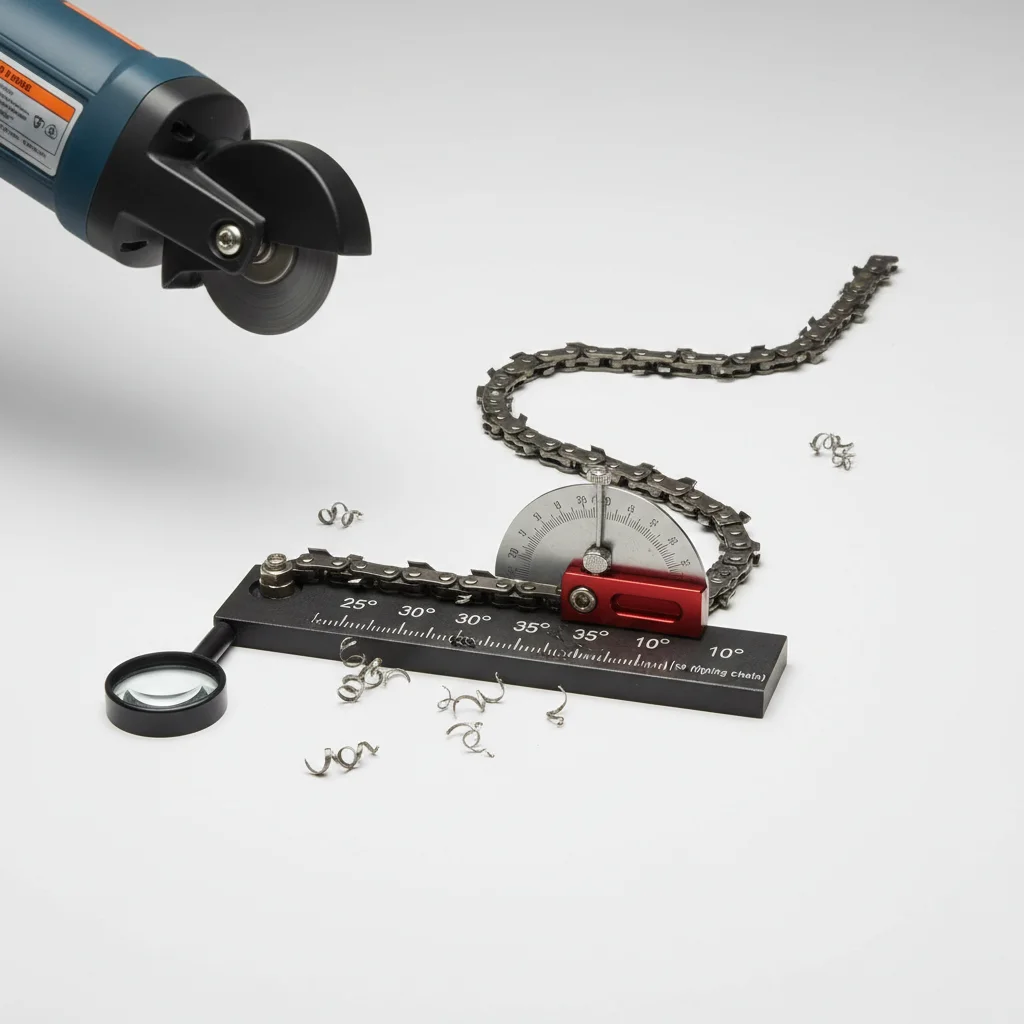
The correct chainsaw chain sharpening angle is crucial for optimal cutting performance and safety. While the ideal angle can vary slightly depending on the chain type and wood you’re cutting, a general range of 25 to 35 degrees is most common for the top plate cutting angle. Understanding this specific degree and how to achieve it will significantly improve your chainsaw’s efficiency and extend its lifespan.
Understanding the Basics of Chainsaw Chain Angles
Every chainsaw chain has several angles that contribute to its cutting ability. The most critical is the top plate cutting angle, which is the angle of the cutting edge relative to the bar. Other important angles include the side plate angle and the depth gauge setting. Getting these angles right ensures that the chain cuts cleanly and efficiently, rather than tearing or binding in the wood.
Incorrect angles can lead to a dull chain, increased fuel consumption, and even kickback, which is a serious safety hazard. Taking the time to learn and apply the correct sharpening techniques will pay dividends in both performance and safety.
Common Sharpening Angles for Different Chainsaw Chains
Most standard chainsaw chains, particularly those used for general felling and limbing, benefit from a top plate cutting angle between 30 and 35 degrees. For example, many professional chainsaws recommend a 30-degree angle for all-around use. However, some specialized chains, like those designed for ripping lumber, might require a shallower angle, often around 10 degrees, to produce a smoother cut along the grain.
Conversely, chains used for very hard or frozen wood might benefit from a slightly steeper angle, though this is less common for general home use. Always consult your chainsaw’s manual or the chain manufacturer’s specifications for the most accurate recommendation.
How to Achieve the Correct Sharpening Angle
|
Our Picks for the Best Chain Saw in 2026
As an Amazon Associate I earn from qualifying purchases.
|
||
| Num | Product | Action |
|---|---|---|
| 1 | Greenworks 24V 12" Brushless Cordless Compact Chainsaw (Great For Storm Clean-Up, Pruning, and Firewood / 125+ Compatible Tools), Tool Only |

|
| 2 | Makita XCU03PT1 18V X2 (36V) LXT Lithium-Ion Brushless Cordless 14" Chain Saw Kit with, 4 Batteries (5.0Ah) |
|
| 3 | Greenworks 24V 10" Cordless Compact Chainsaw (Great For Storm Clean-Up, Pruning, and Firewood), 2.0Ah Battery and Charger Included |
|
| 4 | Stihl GTA 26 Wood Cutter with AS 2 Battery and Charger AL 1, Battery Operated |
|
| 5 | Makita-UC4051A Chain Saw, Electric, 16 in. Bar - Sliver |
|
| 6 | Oregon 3-Pack Chainsaw Chain 3/8" LP Pitch, .050" (1.3 mm) Gauge for 18" (45cm) Bar, 62 Drive Links – Low-kickback Replacement Saw Chain, Fits Husqvarna, Echo, Poulan, Homelite, Craftsman and more |
|
| 7 | Husqvarna 450 Rancher 20 Inch Gas Chainsaw, 50.2-cc 3.2-HP, 2-Cycle X-Torq Engine, For Tree Pruning, Yard Cleanups and Firewood Cutting, 970613120 |
|
| 8 | Gas Chainsaw 62CC 20 Inch Professional Powerful 2-Stroke Engine for Tree Cutting, Logging and Firewood with Chain Brake |
|
| 9 | STIHL Battery Operated Chainsaw with Sound Kids Toy |
|
| 10 | Greenworks 80V 16" Brushless Cordless Chainsaw (Great For Tree Felling, Limbing, Pruning, and Firewood / 75+ Compatible Tools), Tool Only |
|
Achieving the correct sharpening angle requires precision and the right tools. A round file and a filing guide are essential. The filing guide helps maintain the consistent angle across all teeth. When filing, ensure you are only filing on the forward stroke and lifting the file on the return stroke. Count the strokes for each tooth to ensure even sharpening.
For those who prefer a more automated approach, electric chainsaw sharpeners can provide highly consistent angles with less effort. However, manual sharpening offers greater control and can be done in the field.
- Use a filing guide to maintain a consistent angle.
- File only on the forward stroke.
- Count strokes per tooth for even sharpening.
- Check the depth gauge setting regularly.
- Wear appropriate safety gear, including gloves and eye protection.
The Importance of Depth Gauge Setting
While the sharpening angle is critical, the depth gauge setting is equally important. The depth gauge, or raker, controls how much wood each cutter takes. If the depth gauge is too high, the chain won’t cut effectively. If it’s too low, the chain will take too big a bite, leading to excessive vibration, kickback, and a rough cut. The ideal depth gauge setting is typically around 0.025 inches (0.65 mm) for most chains.
Always check and adjust your depth gauges after sharpening your cutters. A depth gauge tool can help you achieve the correct height and ensure your chain performs optimally.
When to Sharpen and When to Replace Your Chain
You’ll know it’s time to sharpen your chainsaw chain when it starts producing sawdust instead of wood chips, requires more pressure to cut, or pulls to one side. Regular sharpening is key to maintaining performance. However, there comes a point when a chain is simply too worn or damaged to be effectively sharpened. If the cutters are severely rounded, cracked, or if the chain has been sharpened down to its wear indicators, it’s time for a replacement.
Investing in a new chain when necessary is a small price to pay for safety and efficiency. A sharp, well-maintained chain makes cutting easier, faster, and significantly safer.

This really helped clarify why my chain was always tearing the wood instead of cutting cleanly. I used to just eyeball it, but understanding the importance of the side plate angle made a huge difference. My Stihl is performing way better, though it took a few tries to get the depth gauge setting just right.
Good info on the general sharpening angles. I tried applying the 30-degree top plate angle to my older Husqvarna, and while it improved, I still feel like it could be sharper. Maybe my chain type is just a bit different, or I need a better file guide. It’s definitely better than before, but not perfect.
I always struggled with getting my chainsaw chain sharp enough, and it felt like I was just guessing. The tip about the 25 to 35 degree range for the top plate cutting angle was a game-changer. My saw cuts through oak like butter now, and it’s so much safer. Definitely recommend paying attention to those angles!
I’ve been cutting firewood for years and thought I knew it all, but the detailed explanation of how each angle contributes to cutting ability was really insightful. My chain used to bind a lot, and adjusting based on the top plate and depth gauge guidance here has made my work so much more efficient. Great practical advice!